First Steps
Before start
Make sure you have all the following components before you start the configuration process:
A working computer with a browser (Google Chrome is recommended). It will be used to configure U-alarm via its web interface. The OS can be Windows, Linux or Mac OSX.
LAN with DHCP service
At least one working IP camera with a known RTSP url.
The Jetson TX2 box with U-alarm installed (U-alarm box) -
Contact sales@ultinous.com for help.
A valid U-alarm Licence Activation Key.
Contact sales@ultinous.com for help.
One free network port on the same subnet as the computer.
One free 220 power supply socket
Power on the U-alarm box
Connect the U-alarm box to the 220 power supply and to the ethernet network.
Note: There are two similar silver sockets. Make sure to connect the power cable to the one with the DC label, it is on the same side of the box as the ethernet port (see image below).
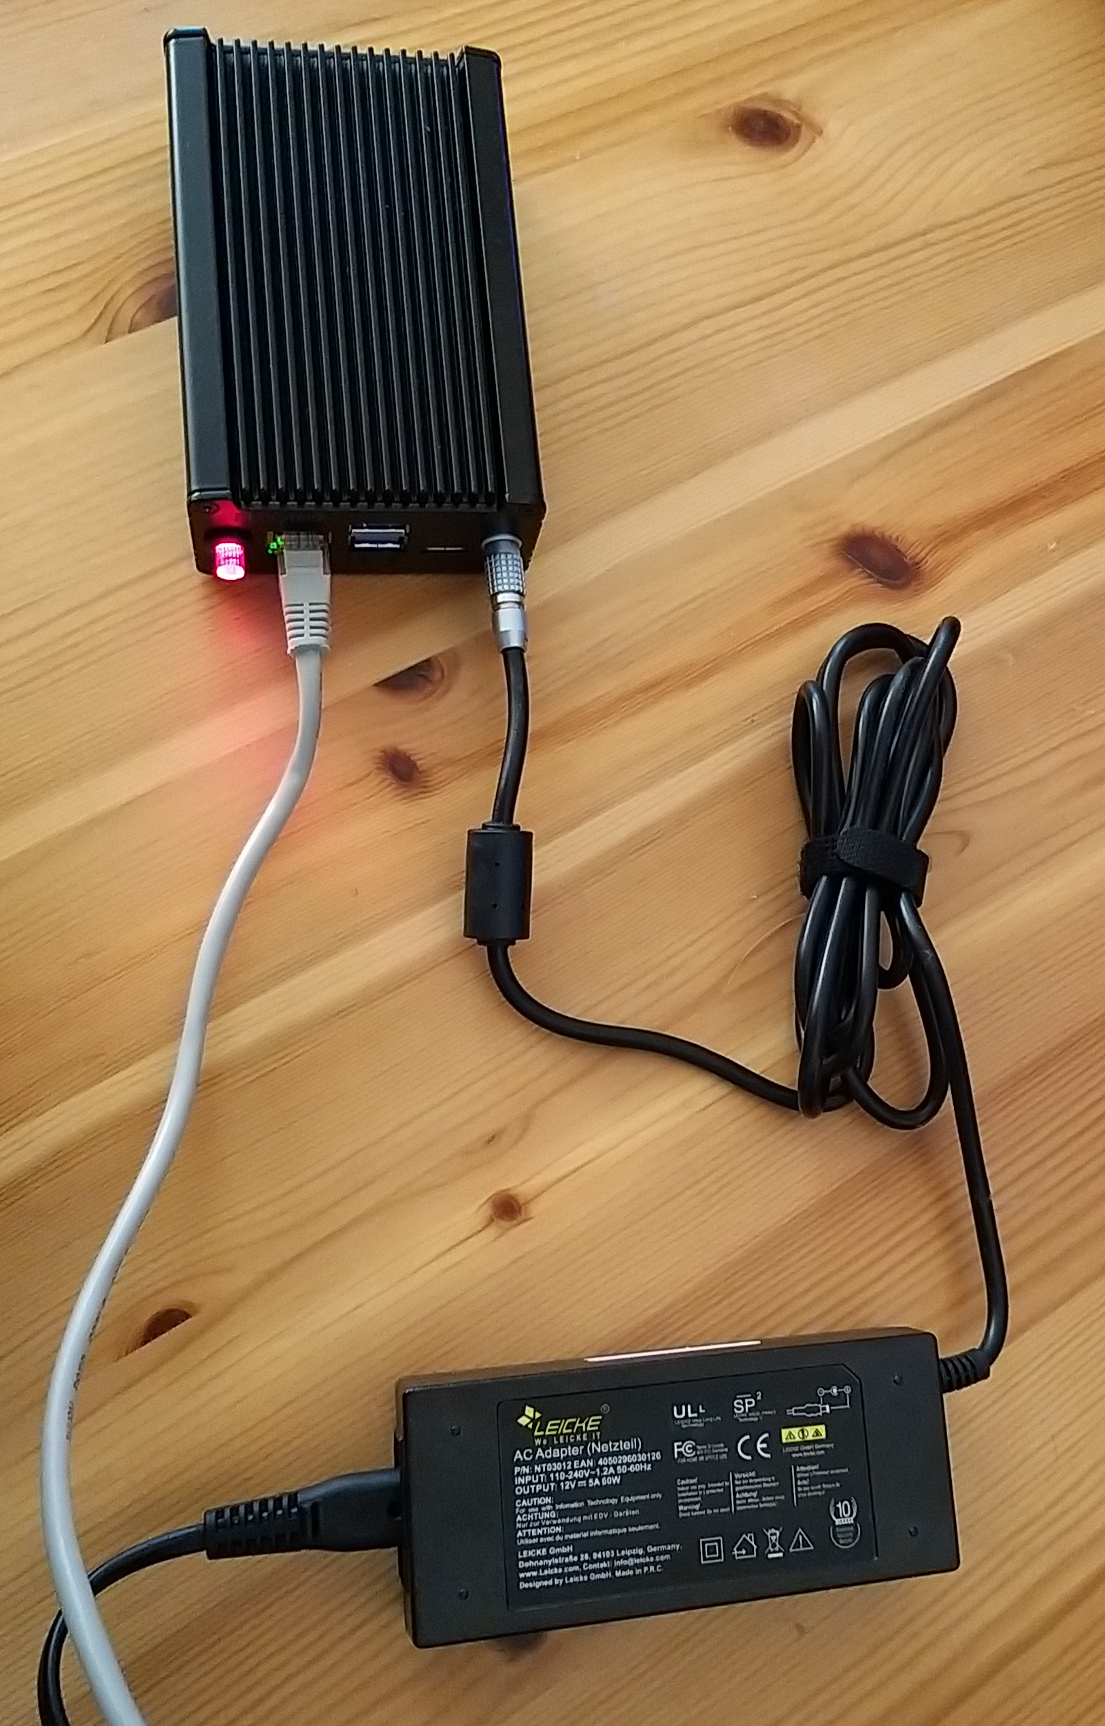
There is no turn on/off button, the red led indicates if the box is properly connected to the power supply (see image). Wait one minute after you powered the U-alarm box to let the OS and U-alarm start.
Find out the IP address of the U-alarm box
At this point the U-alarm box is working but you need to figure out its ip address to be able to log in to its web interface.
By default U-alarm is configured to acquire IP address via DHCP. Later this can be changed to use a fixed IP address. There are multiple ways to find out its IP address, use the one that fits you best:
- In a corporate environment ask the help of the system administrators to get the IP address
- In a home environment the ip address can be look up on the router web page (typically 192.168.0.1, look for DHCP client list. The client name is 'gustav')
- On windows platform use the provided U-alarm IP discovery tool (it requires .NET 4.5 or higher. On Windows 10 it is installed). Make sure the computer and the U-alarm box are on the same sub-network. By pressing the refresh button, it queries the network for available U-alarm boxes, and displays their addresses in a table along with their configured hostnames and system uptime. The address can be copied to clipboard by double clicking on the row or by clicking the copy button.
- On linux systems use the provided python script. The Python client has no other dependency aside from a Python interpreter version 3.6 or later. Ubuntu 18.04 and Debian 10 have them preinstalled, for other operating systems, please refer to their installation guide.
Open web UI
Copy the IP address of the box to a web browser and open it. You will see the U-alarm UI. You can configure the system, check live streams with analysis and manage alarms via this UI.
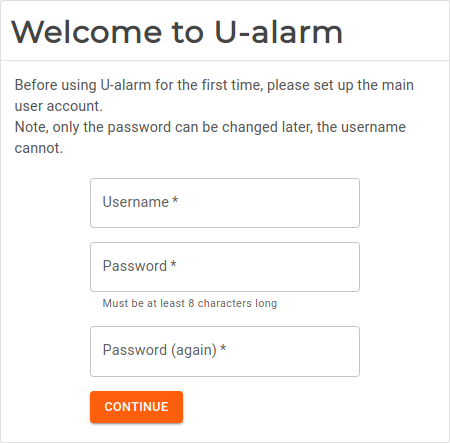
Setup your account
Create a user name and a password. Click the Continue button.
Activate your licence
In this document it is assumed that you have a licence activation key for U-alarm.
If your U-alarm box has internet connection you can activate your licence online, otherwise choose offline activation. You can set your licence later in the Control Panel but U-alarm will work only after the licence is set.
Option 1: Online licence activation

- Copy your licence activation key to the Activation key field.
- Give your name and contact information.
- If you accept the GTC of U-alarm click the Activate Button.
Option 2: Offline licence activation
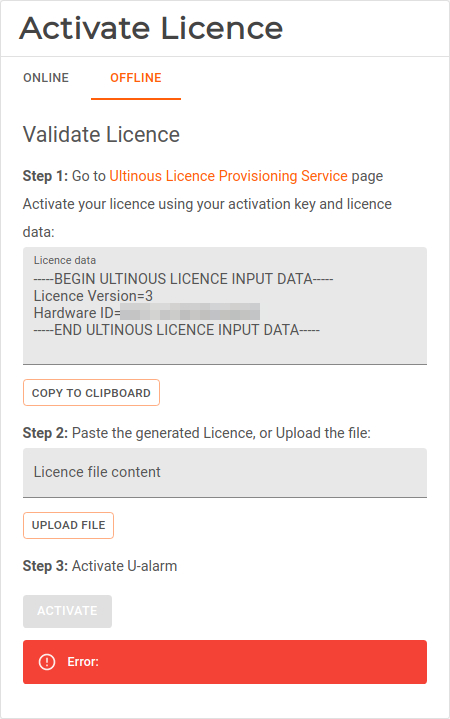
- Copy the whole content of the Licence data field to your clipboard.
- Find a computer with internet access. Go to the Licence Provisioning Service web page at https://activation.ultinous.com/.
- Type or paste your activation key and the licence data.
- Give your name and contact information.
- If you accept the GTC of U-alarm click the Activate Button.
- Press the Submit button.
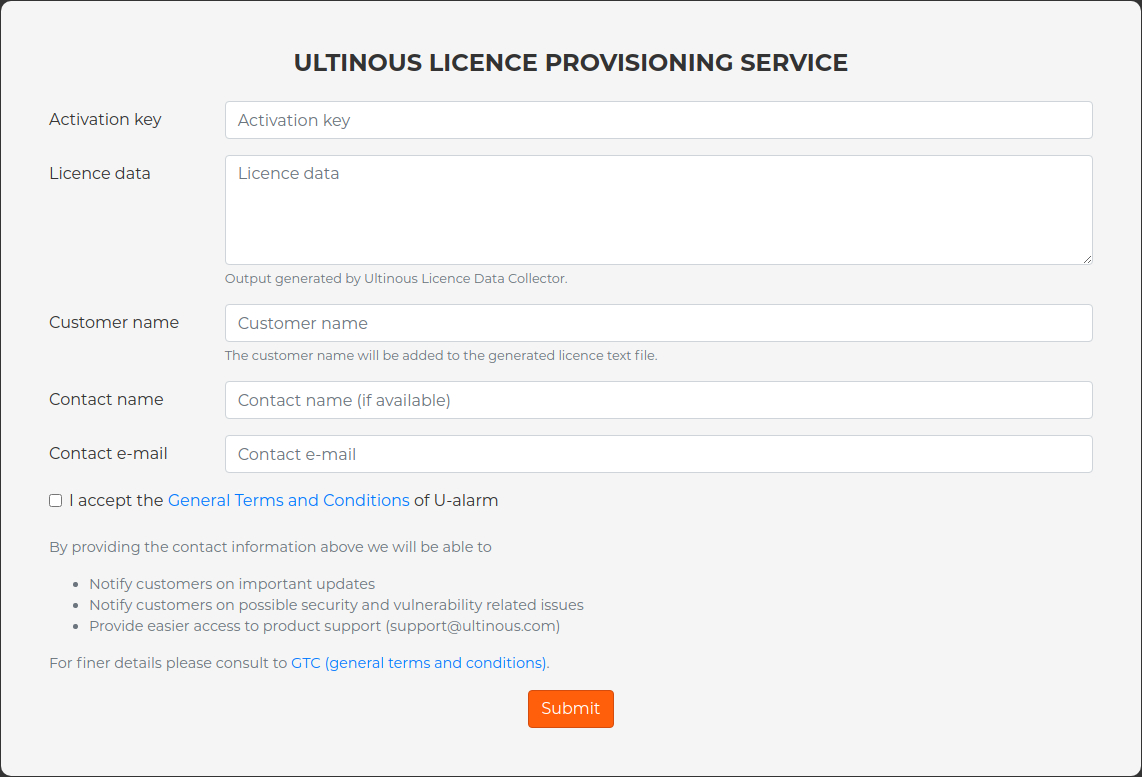
- Download the offline licence file.
- Go back to U-alarm and upload the offline licence file.
- Click the Activate button.
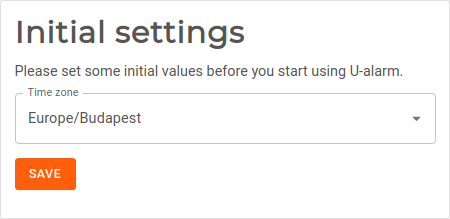
Set Timezone
After the web UI is loaded U-alarm asks for setting your Timezone. This setting is mandatory but it can be modified later in the Control Panel.
After finished
You can proceed with the Quick start guide or go to the detailed Camera settings help page.